How to Connect a Laptop to a Projector
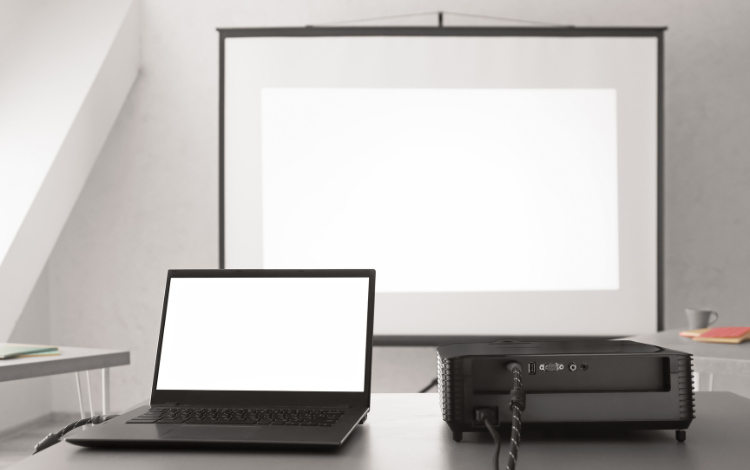
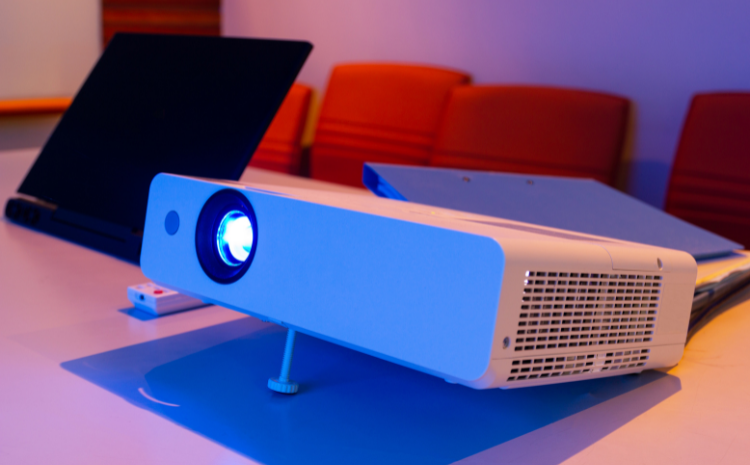
A tool that can display images is a projector from a computer or other device onto a large screen. In this article, you provide information on how to connect a laptop to a projector. This can be useful for presentations, meetings, or watching movies. To connect a computer to a projector, you will need the following.
I understand you are looking for guidance on connecting your laptop to a projector. This is a common requirement for presentations, meetings, and multimedia purposes. Below, I’ve outlined a step-by-step guide to help you accomplish this task smoothly. Please follow these instructions to ensure a successful connection.
Equipment Preparation:
Before we proceed, make sure you have the following equipment ready:
- Laptop: Ensure your laptop is working, and its battery is sufficiently charged or plugged in.
- Projector: Verify that the projector is powered on and properly connected to a power source.
- Video Cable: You’ll need a suitable video cable to connect your laptop to the projector. Standard options include HDMI, VGA, and DisplayPort cables. Ensure you have the appropriate cable for your devices.
- Adapter (if necessary): If your laptop and projector have different video ports (e.g., HDMI on the laptop and VGA on the projector), you may need an adapter to bridge the connection.
Connect the Cable:
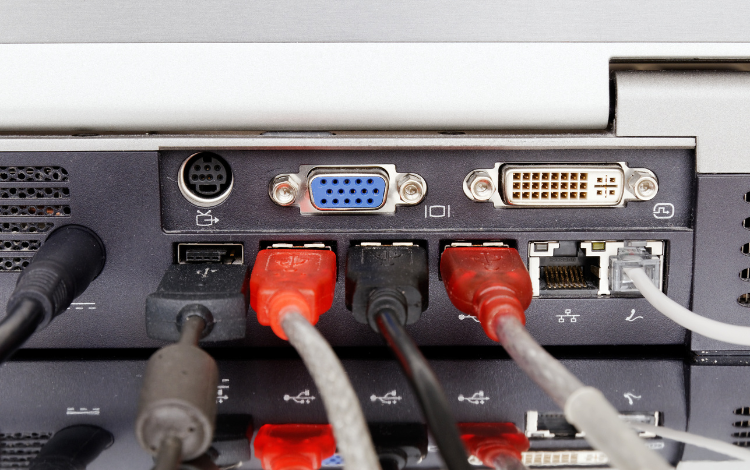
- Identify the Ports: Locate the video output port on your laptop (e.g., HDMI, VGA, DisplayPort). Similarly, find the corresponding input port on the projector.
- Connect the Cable: Insert one end of the video cable into the laptop’s video output port and the other into the projector’s input port. Ensure the connections are secure.
Configure Laptop Display Settings:

Now that the physical connection is established let’s configure your laptop’s display settings:
- Windows: If you’re using a Windows laptop, press the Windows key + P. This will open the display settings menu.
- macOS: For macOS users, go to the Apple menu, select “System Preferences,” then choose “Displays.” Click on the “Arrangement” tab to configure multiple displays.
- Select Projection Mode: You can choose the projection mode in the display settings menu. Standard ways include “Duplicate” (mirroring your laptop screen), “Extend” (using the projector as a second display), or “Second Screen Only” (showing content only on the projector). Select the mode that suits your needs.
Adjusting the Image:
Once the laptop screen display on the projector, you may need to adjust the image. You can do this by adjusting the following settings on the projector:
- The zoom setting: This will change the size of the picture.
- The focus setting: This will make the image sharper.
- The keystone correction setting: This will correct any distortion in the vision.
Test the Connection:

- Power On the Projector: If it’s not already on, power on the projector and give it a moment to detect the laptop.
- Function Key (if necessary): Some laptops require pressing a specific function key (e.g., F4 or F8) to toggle between display modes. Check your laptop’s user manual for details.
- Check Projection: Look at the projector screen to confirm that your laptop’s display is being projected. You may need to adjust the projector’s input source using its remote control.
Adjust Resolution (if needed):
Sometimes, you may need to adjust the screen resolution to match the projector’s native Resolution for the best image quality. You can do this in your laptop’s display settings.
Summary of Steps:
- Prepare your laptop and projector.
- Connect the appropriate video cable.
- Configure laptop display settings (Windows: Windows key + P, macOS: System Preferences > Displays).
- Choose the desired projection mode (Duplicate, Extend, Second Screen Only).
- Power on the projector and check the projection.
- Adjust Resolution if necessary.
Troubleshooting:
If you are having trouble connecting your laptop to a projector, here are a few things to check:
- Make sure that the cable correctly connects to both the laptop and the projector.
- Make sure that the computer and the projector are turned on.
- Ensure that the computer and projector use the same video input format.
- If you are using an adapter, ensure it is compatible with the ports on your laptop and projector.
If you still need help, consult your laptop and projector manual.
Additional Information:
In addition to HDMI and VGA, there are other ways to connect a laptop to a projector. These include:
- DisplayPort: This newer connector offers higher resolutions and refresh rates than HDMI.
- DVI: This is an older connector still supported by many projectors.
- Wireless: Some projectors support wireless connectivity, allowing you to connect your laptop without cables.
The best way to connect your laptop to a projector will depend on the ports available on your devices and your desired viewing experience.
Conclusion
These steps should help you connect your laptop to a projector for your specific needs. Please let us know if you run into any problems or have any other inquiries don’t hesitate to ask for additional assistance. After reading this article, we hope you all know how to connect a laptop to a projector.
Writer
Tanvir Islam
Intern, Content Writing Department
Requin BD


Write a Comment