

How To Setup A Home Theatre System with A Projector
Setting up a home theatre system with a projector can be daunting, but it’s doable with a bit of planning and effort. In this article, I’ll walk you through the process step-by-step, from choosing the right projector to connecting all your devices.
Indeed, setting up a home theatre system with a projector can be a rewarding experience, transforming your living space into an immersive entertainment center. Below, I’ve outlined a step-by-step guide to help you achieve this.
Planning and Preparation
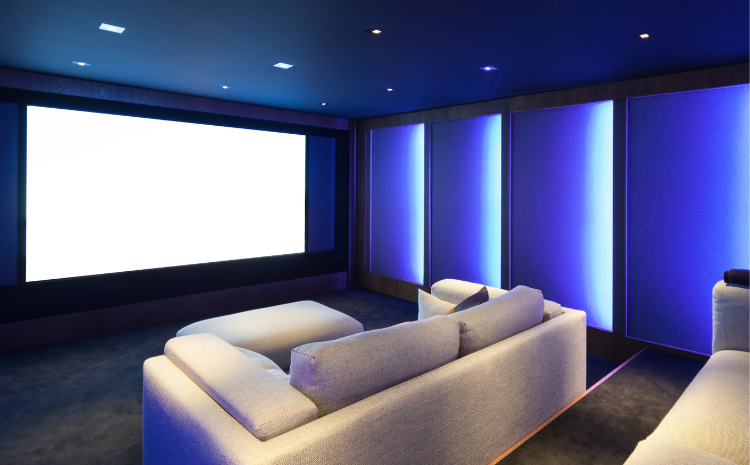
Room Selection: Choose a suitable room with adequate space, minimal ambient light, and good ventilation for your home theater.
Budget and Equipment: Determine your budget for the project and make a list of the necessary equipment, including the projector, screen, speakers, and audio/video sources.
Room Layout: Sketch a room layout to plan the placement of the projector, screen, seating, and other components. Consider factors like viewing angles and seating distances.
Choosing a Projector:
The first step is to choose the right projector for your needs. There are a lot of factors to consider, such as the size of the room, the brightness of the projector, and the type of content you’ll be watching.
Here are a few things to keep in mind when choosing a projector:
- Screen size: The screen’s height will determine the projector’s throw distance. The projector’s throw distance is the space between it and the screen.
- Brightness: The projector’s brightness will determine how well it performs in a dark room. You’ll need a brighter projector if you have a lot of ambient light in your room.
- Image quality: The projector’s image quality will depend on the resolution and contrast ratio. A crisper image will result from a more excellent resolution, and a higher contrast ratio will create a more dynamic appearance.
- Features: Some projectors have additional features like built-in speakers or a zoom lens. Consider the features that are important to you when making your decision.
Projector Placement
Once you’ve chosen a projector, you must decide where to place it. The best place for the projector is in a central location, with the screen directly in front of it. You’ll also need to ensure no obstructions in the path of the projector’s light. You must use a projector mount if you’re mounting the projector on the ceiling. There are a variety of projector mounts available, so You can choose one that’s right for your needs.
Connecting Your Devices
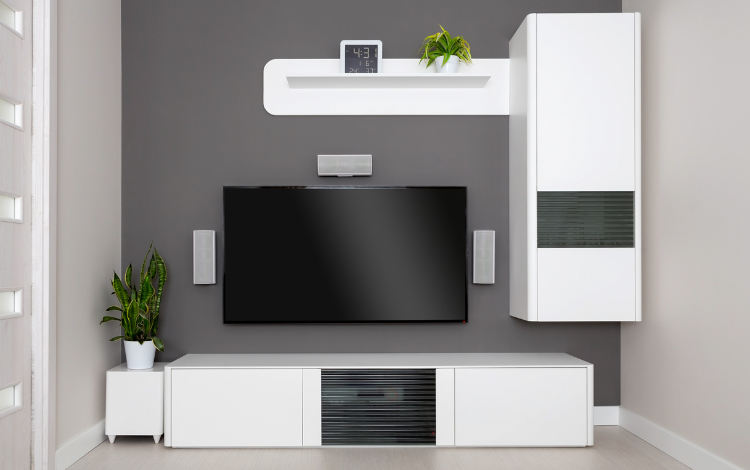
Once the projector is in place, you need to connect your devices. The projector could include a Blu-ray player, a streaming device, or a gaming console. The projector is compatible with connecting your gadgets using an HDMI cable, an optical cable, or a VGA cable.
Speaker Placement:
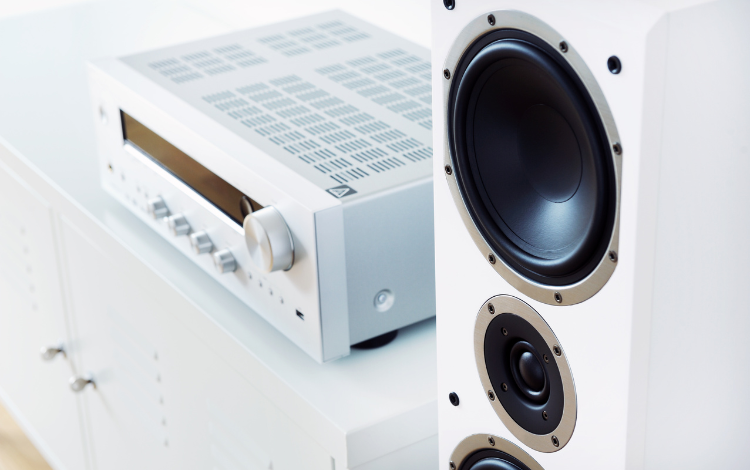
Decide on the speaker configuration (5.1, 7.1, etc.) and strategically place speakers around the room for optimal surround sound. Consider using wall mounts or stands. A projector has no speakers, so you must connect it to a sound system. You can use a soundbar, a surround good system, or even a pair of speakers.
Receiver and Amplification: Invest in an AV receiver with sufficient channels and power to support your speaker setup. Make sure it has the necessary inputs and features for your audio sources.
Source Devices and Connections
Source Components: Connect your source devices (Blu-ray player, gaming console, streaming device, etc.) to the AV receiver. Use HDMI cables for high-quality video and audio transmission.
Streaming and Networking: Set up a network connection for streaming content and software updates. Many projectors have built-in Wi-Fi capabilities.
Projector Mounting: Install the projector mount securely on the ceiling or a wall mount bracket. Ensure it is level and aligned with the screen.
Screen Installation: Mount or position the screen securely, ensuring it is flat and tensioned adequately for a smooth surface.
Calibration: Use the projector’s menu settings and an appropriate calibration tool to adjust image quality, color, contrast, and focus for optimal viewing.
Cable Routing: Conceal and organize cables using cable channels, raceways, or in-wall options for a clean and safe setup.
Cable Routing: Conceal and organize cables using cable channels, raceways, or in-wall options for a clean and safe setup.
Testing and Troubleshooting
Initial Testing: Test each component individually to ensure they are functioning correctly. Adjust settings as needed.
Calibration: Fine-tune audio and video settings to achieve the desired audiovisual experience.
Seating Arrangement: Arrange seating for the best viewing experience, ensuring all seats have a clear screen view.
Light Control: Implement lightweight control solutions like blackout curtains or blinds to minimize ambient light during movie nights.
Remote Control: Program a universal remote or use a smartphone app to control all your devices seamlessly.
Summary of Key Steps:
- Plan the room layout and budget.
- Select the projector, screen, and audio equipment.
- Position speakers strategically for surround sound.
- Connect source devices to the AV receiver.
- Install and calibrate the projector and screen.
- Organize cables for a clean setup.
- Test and fine-tune your home theater system.
- Enjoy your immersive home theater experience.
Conclusion
You may make a great product with diligent preparation and attention to detail. A home theater system with a projector that provides a cinematic experience in the comfort of your home. We hope you all know how to set up a home theater system with a projector.
Witter
Tanvir Islam
Intern, Content Writing Department
Requin BD

8 Comments
Anm"al dig f"or att fa 100 USDT
March 6, 2025
Thank you for your sharing. I am worried that I lack creative ideas. It is your article that makes me full of hope. Thank you. But, I have a question, can you help me?
binance account
March 9, 2025
Your point of view caught my eye and was very interesting. Thanks. I have a question for you.
免費創建帳戶
March 10, 2025
Your point of view caught my eye and was very interesting. Thanks. I have a question for you.
www.binance.com sign up
March 13, 2025
Thanks for sharing. I read many of your blog posts, cool, your blog is very good.
注册免费账户
March 23, 2025
Can you be more specific about the content of your article? After reading it, I still have some doubts. Hope you can help me. https://www.binance.com/ar/register?ref=V2H9AFPY
開設binance帳戶
March 23, 2025
Thanks for sharing. I read many of your blog posts, cool, your blog is very good. https://www.binance.com/zh-CN/join?ref=VDVEQ78S
binance code
March 23, 2025
I don’t think the title of your article matches the content lol. Just kidding, mainly because I had some doubts after reading the article. https://www.binance.com/hu/register?ref=FIHEGIZ8
create binance account
March 25, 2025
Can you be more specific about the content of your article? After reading it, I still have some doubts. Hope you can help me. https://accounts.binance.info/sl/register?ref=PORL8W0Z